Discount up to 20% for first purchase only for new customers.
Movavi is a multimedia company which develope different software. Movavi Video Editor Plus is one of the most popular video editing software from Movavi. Recently Movavi updated its video editor to the 24.0 version and in this review, we will read Movavi Video Editor Plus 24 Review with complete pros and cons.
Affiliate Disclosure: We work hard to find and share discounts and coupons with you from various companies. Through this, we earn some money when you make a purchase from our referral link. This will help us cover all website expenses we share with you free of cost. Learn more
Read Also
In this update, Movavi added features like a Revamped timeline for easier editing, Frame-precise cuts in a click, Pro-quality colour correction, AI Motion Tracking, Perfect-match overlay effects, Our best effects on your fingerprints, and many more. This major update will give you more functionality for working with videos and other effects. Let’s take a look at this new major update from Movavi.
Movavi Video Editor Plus 24 is a versatile video editing software that offers a wide range of features for creating professional-looking videos. With an intuitive user interface and powerful tools, it enables both beginners and advanced users to edit videos with ease.
Some basic features of Movavi Video Editor Plus 24 include:
Movavi Video Editor Plus 24 provides a user-friendly and intuitive experience. Whether you’re editing family videos, creating vlogs, or producing professional content, this software offers the tools you need to bring your ideas to life.
Movavi is a top-rated video editing software for beginners. Every year in the month of October it releases or updates its products and makes them more powerful. In this review, we will discuss all the features which Movavi has added to its video editor.
Added features in Movavi Video Editor Plus 24
Let’s talk about these features in detail.
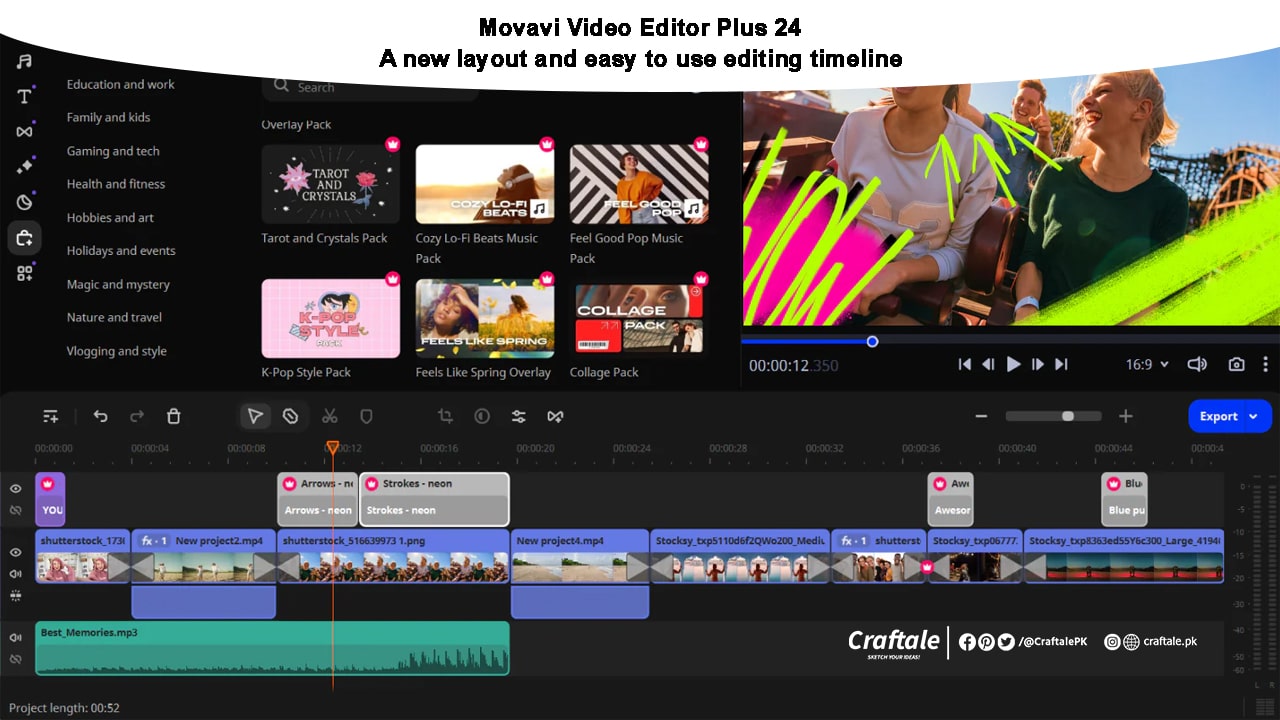
The new timeline is now clearer and more streamlined. Get your projects done faster and have more fun with anything – from short videos for socials to longer family movies.
The new editing timeline in Movavi Video Editor Plus 24 introduces a refreshed and improved interface that enhances your editing experience. Designed to be clearer and more streamlined, the new timeline allows you to work more efficiently and have more fun while editing your videos.
With the new timeline, you’ll find it easier to navigate through your project and make precise edits. The improved layout and intuitive controls enable you to accomplish your video editing tasks faster and with greater precision. Whether you’re working on short videos for social media or longer family movies, the new timeline in Movavi Video Editor Plus 24 provides you with the tools you need to bring your vision to life.
In Movavi Video Editor Plus 24, you can now make frame-precise cuts with just a single click. This feature allows you to easily trim your videos with precision, ensuring smooth and seamless transitions between clips.
To make frame-precise cuts in Movavi Video Editor Plus 24, follow these steps:
By using frame-precise cuts in Movavi Video Editor Plus 24, you can achieve a professional and polished look for your videos. It allows you to eliminate unwanted footage and create seamless transitions for a more engaging viewing experience.
In Movavi Video Editor Plus 24, you can find powerful colour correction tools that allow you to enhance the look and feel of your videos through colour grading. Colour grading is the process of adjusting and manipulating the colours in a video to achieve a desired visual aesthetic or mood.
To perform colour grading in Movavi Video Editor Plus 24, follow these steps:
Colour grading in Movavi Video Editor Plus 24 gives you the ability to transform the look and mood of your videos by manipulating colours. Whether you want to create a vibrant and lively atmosphere or a moody and dramatic tone, the colour correction tools in Movavi Video Editor Plus 24 provide you with the flexibility to achieve your desired visual style.
AI Motion Tracking is one of the exciting new features introduced in Movavi Video Editor Plus 24. AI, or Artificial Intelligence, has revolutionized the field of video editing by making complex tasks much simpler and more efficient.
With AI Motion Tracking, you can easily track and follow moving objects or subjects in your videos. This feature is particularly useful when you want to add effects, text, or graphics that stay in sync with the moving elements in your footage.
To use AI Motion Tracking in Movavi Video Editor Plus 24, follow these steps:
AI Motion Tracking in Movavi Video Editor Plus 24 simplifies the process of adding interactive and dynamic elements to your videos. Whether you want to add text callouts, animated stickers, or visual effects that stay on a moving subject, this feature provides you with the tools to create captivating videos with ease.
Take advantage of AI Motion Tracking in Movavi Video Editor Plus 24 to unlock your creativity and elevate your video editing projects to the next level.

The Blaze Effect in Movavi Video Editor Plus 24 is a stunning overlay effect that adds a dynamic and fiery look to your videos. It creates the illusion of burning flames or glowing embers, giving your footage a dramatic and captivating visual impact.
To apply the Blaze Effect in Movavi Video Editor Plus 24, follow these steps:
The Blaze Effect in Movavi Video Editor Plus 24 is a powerful tool that allows you to create visually stunning and eye-catching videos. Whether you want to emphasize certain scenes or add a touch of excitement to your footage, the Blaze Effect can enhance the overall impact of your videos and engage your viewers in a mesmerizing visual experience.
Movavi Video Editor Plus offers a wide range of effects that you can apply to your videos to enhance their visual appeal and storytelling. These effects help you create professional-looking videos with just a few clicks. Some of the popular effects in Movavi Video Editor Plus include:
These are just a few examples of the effects available in Movavi Video Editor Plus. Explore the software to discover more creative possibilities and make your videos truly stand out.
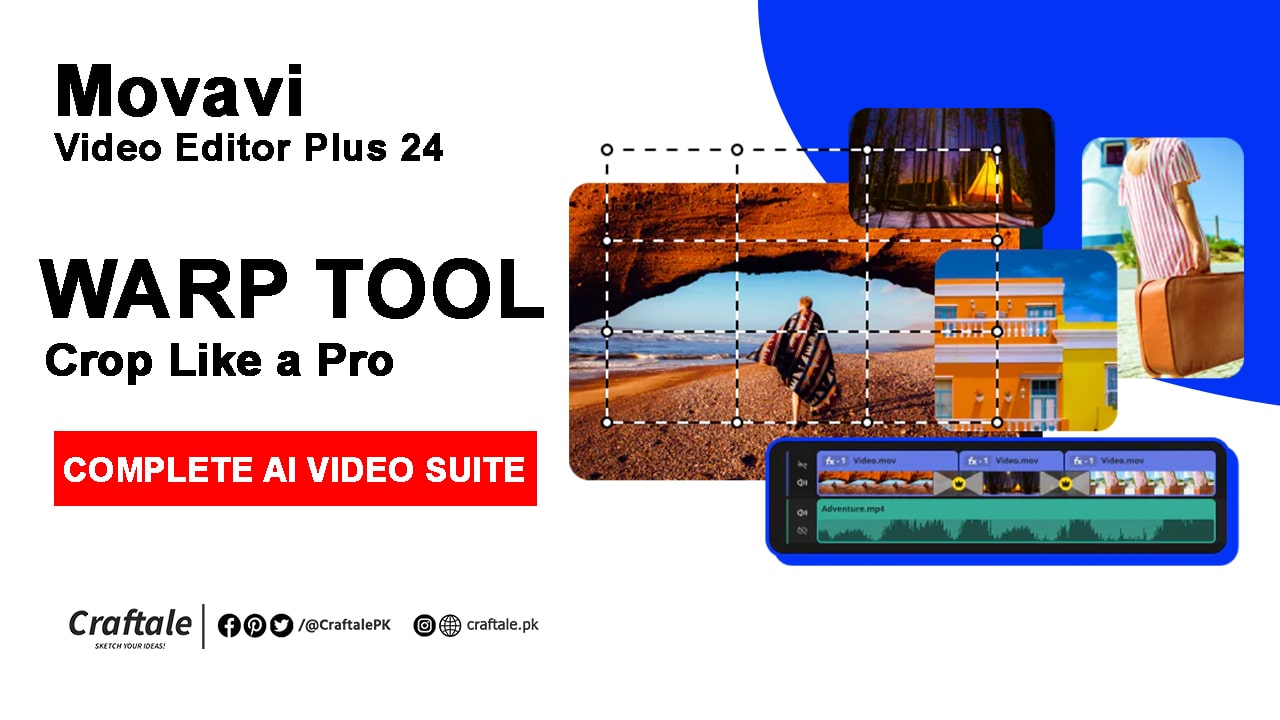
The Warp Cropping Tool is a powerful feature introduced in Movavi Video Editor Plus 24. It allows you to easily crop and reshape the frames of your videos in a creative and customizable way.
With the Warp Cropping Tool, you can:
To use the Warp Cropping Tool in Movavi Video Editor Plus 24, follow these steps:
The Warp Cropping Tool in Movavi Video Editor Plus 24 provides you with the flexibility to create unique and engaging visual effects in your videos. It allows you to unleash your creativity by customizing the frame and adding emphasis to specific areas, resulting in professional-looking and captivating video content.
Here are the system requirements for Movavi Video Editor Plus 24:
Operating System:
Processor:
RAM:
Graphics Card:
Screen Resolution:
Hard Disk Space:
Additional Requirements:
Please ensure that your system meets these requirements to run Movavi Video Editor Plus 24 smoothly.
In conclusion, Movavi Video Editor Plus 24 is a versatile and powerful video editing software that offers a wide range of features and tools for creating professional-looking videos. With its intuitive user interface and extensive editing options, it caters to both beginners and advanced users.
The revamped timeline makes editing easier and more efficient, allowing you to complete your projects faster. The frame-precise cuts feature enables you to trim your videos with precision, ensuring seamless transitions between clips. The pro-quality color correction tools provide the ability to enhance the visual appeal of your videos through color grading.
One of the standout features of Movavi Video Editor Plus 24 is the AI Motion Tracking, which simplifies the process of adding interactive and dynamic elements to your videos. The perfect-match overlay effects, such as the Blaze Effect, add a captivating visual impact to your footage.
Additionally, Movavi Video Editor Plus 24 offers a wide range of effects and filters, allowing you to enhance the overall appearance of your videos. The Warp Cropping Tool provides creative flexibility, enabling you to crop and reshape video frames in unique and customizable ways.
With the ability to export videos in various formats and seamlessly share them on different platforms, Movavi Video Editor Plus 24 makes it easy to showcase your work to the world.
For more details and upcoming tutorials Like Our Facebook Page or Follow Us on Twitter, you can also SUBSCRIBE to Our YouTube Channel for video tutorials.

Movavi is a multimedia company which develope different software. Movavi Video Editor Plus is one of the most popular video editing software from Movavi. Recently Movavi updated its video
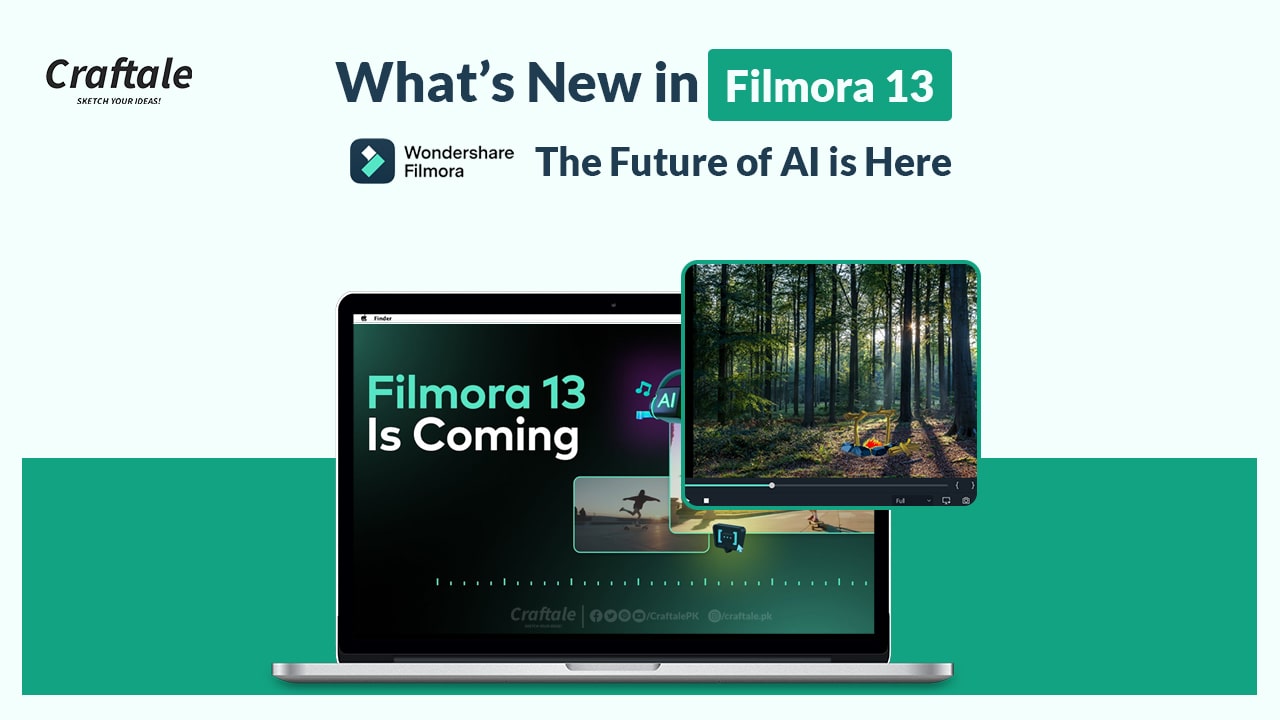
AI has made significant inroads in video editing, offering various tools and capabilities that can streamline the editing process, enhance video quality, and provide creative
Motion Tracking is the process that takes time while editing the videos. In this article, we will learn How to use Motion Tracking in Wondershare
Motion Tracking takes time while editing the videos. In this article, we will learn How to use Motion Tracking in Movavi Video Editor Plus 2023.

